
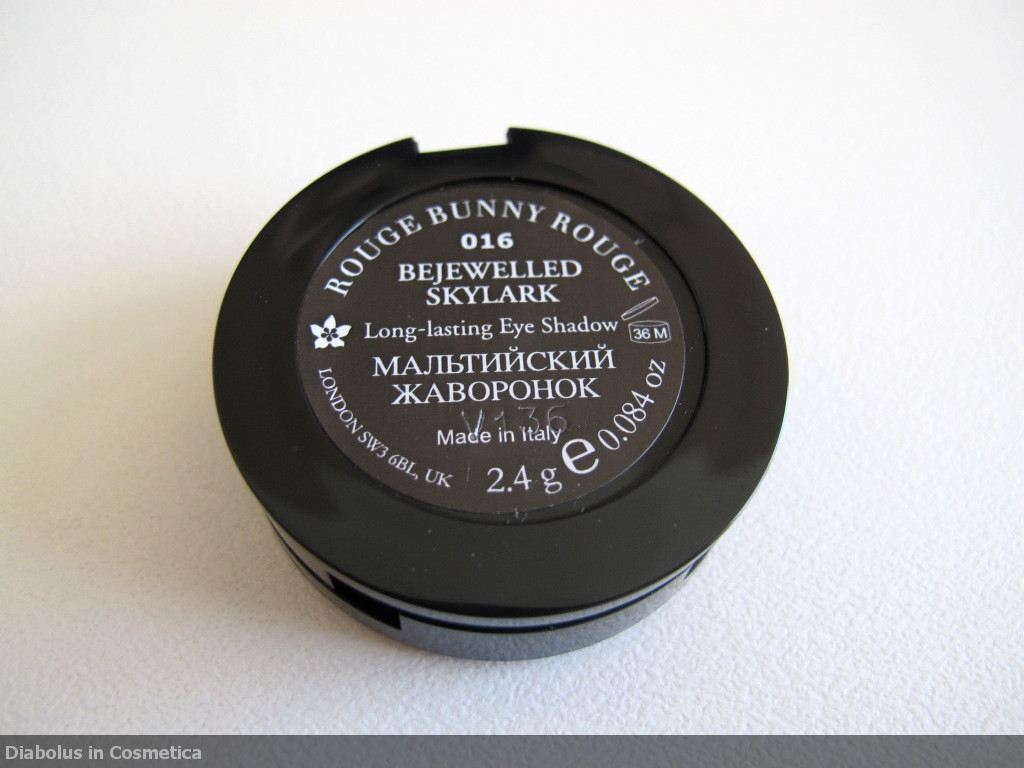
My victim today is Bejewelled Skylark, the newest addition to my Rouge Bunny Rouge eyeshadow collection.
Depotting Rouge Bunny Rouge eyeshadows is very quick and easy. You should be able to depot a single eyeshadow in under five minutes. Once you have done it a few times and you master the technique, it should take you about two minutes, give or take.
Familiarise yourself with the compact structure first - you will notice the mirror only bends a little past 90 degrees when you open the compact. The compacts are quite sturdy and are composed of thick plastic.
You only need to lightly melt the plastic at the base of the compact. Rouge Bunny Rouge eyeshadows have minimal glue holding the pan in place, so you do not need to completely melt through the plastic - in most cases, the application of a little heat will cause the glue will soften enough that the pan will come out of the compact on its own with minimal prodding.
Lets begin!
Safety disclaimer: The depotting of Rouge Bunny Rouge eyeshadows is a simple process, but I urge everyone to be exceptionally cautious - you will be using open flame. This tutorial was completed using open flame. It is very important to implement basic safety measures - wear eye protection; tie your hair up; wear old clothing; do not depot while other people and/or pets are around you; and depot in a well ventilated area. I am not responsible for any damage or injuries incurred from following this tutorial.
The eyeshadow - Rouge Bunny Rouge Bejewelled Skylark

Tools used - point nose pliers, small flat head screwdriver, stove lighter

Step 1 - remove the label
If you wish to label your pan, you first need to remove the label from the packaging. Thankfully, Rouge Bunny Rouge labels come off quite easily. You don't need any heat to remove the label - I simply find an edge and lift it with a fingernail, and gently peel the label off. Peel slowly and gently!!


I then place the label somewhere for safe keeping whilst I depot. Sometimes I just stick it on the back of my hand, sometimes I stick it on the edge of my work bench (as seen here) - I leave most of the sticky surface free so as not to disrupt the label adhesive.

Now you can clearly see the base of the compact.

Step 2 - depot the eyeshadow pan
Hold the compact with pliers, as shown below...

Get comfortable with holding the compact with pliers before taking to the compact with flame - practice holding the compact with pliers in one hand, and holding the stove lighter in the other - practice first so you don't feel awkward when it comes time to apply flame - practicing first means there is less chance of an accident happening!!
Now, apply flame to the base of the compact.


The plastic will bubble as it heats - on average it takes about 20 seconds to heat a compact enough for the pan to be removed, but please use your common sense during this step. There is no set length of time you need to apply the flame for - apply it for just long enough to soften the glue and remove the pan.
Flip the compact over onto some paper towel - make sure you do this at close range, in case the pan falls out on its own.
You can see the bottom of the compact is bubbled...

If the pan doesn't fall out on its own, gently prod through the plastic with the small flat head screwdriver.


If the pan does not easily come out, apply more heat.
You will see in this instance, I did not melt all the way through the base of the compact - I heated it just enough that the pan only needed one gentle prod to come away from the compact.
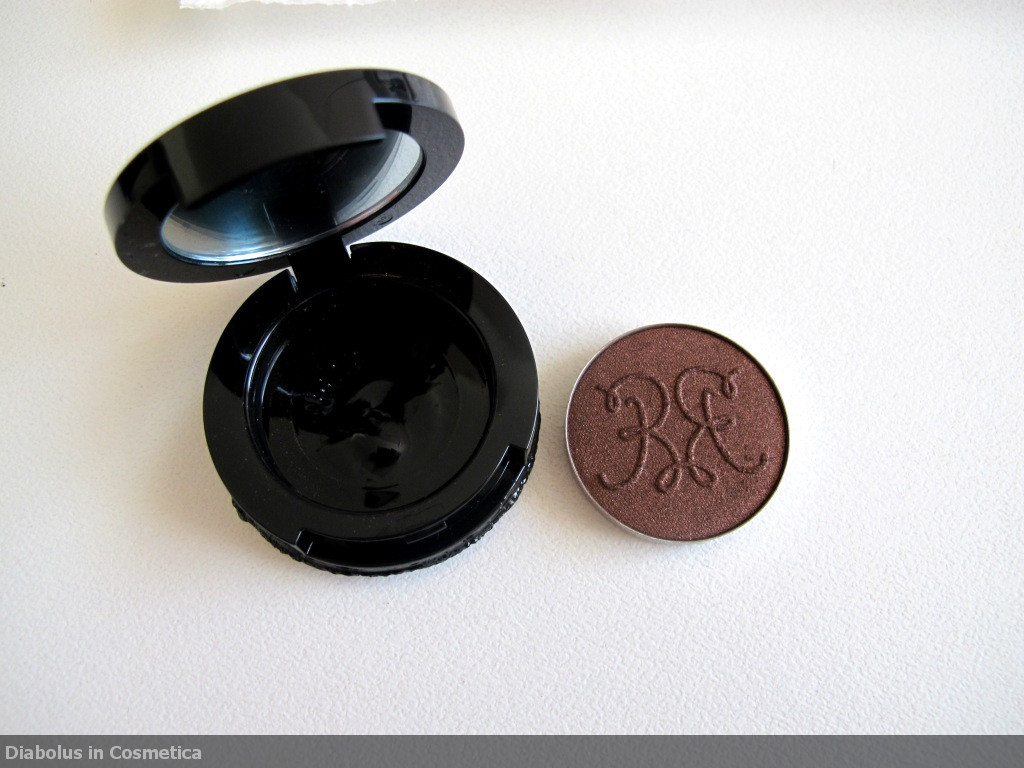
This is the inside of the compact after depotting...

You can clearly see that the inside of the compact is not bubbled, unlike the outside.
You can now apply your label to the bottom of the pan - be careful, the pan may still be very hot!!

You now have a depotted Rouge Bunny Rouge eyeshadow!

Bejewelled Skylark is now at home with the rest of its Rouge Bunny Rouge eyeshadow family...

Thanks for looking!
Bern x
Berrrnnnnnnn I'm lemming RBR now too, I have been for a while. Honestly you're a bad influence for me ;)
ReplyDeleteI think Ab Catbird is going to be my 1st venture into RBR, do you like that one?
xx
Hehe!! My blog lives up to its name, no? ;D
ReplyDeleteLOVE AbCat... it is an RBR fan favourite. I highly recommend this as anyone's first RBR eyeshadow purchase!
xo
You're a temptress and the depotting queen!!
DeleteI'm on it, AbCat shall indeed be mine.
I'm just loving your blog madam, you're so thorough and describe everything so beautifully and with perfect clear pictures too. Very glad I found you xx
THANK YOU!!!!
DeleteI truly appreciate the positive feedback!!
This is a huge learning curve for me... I am learning as I go!
I appreciate any and all constructive criticism as well - I am a photography newb, and have a long way to go with my photos/swatches.
xo
Thanks for the tutorial! I will attempt my first RBR depottings this evening, methinks. <3
ReplyDeleteKeep me posted Nicole! I would love to know how it turns out!
Deletexo
BERN! Ooh, your depots are GORGEOUS. I have all manners of artful "distressing" on my RBR depotting efforts as well as a TOTAL annihilation of Gracious Arasari. You are a total master. I'm still working up the courage for my Burberry e/s, but I may need to mull that one over for a bit.
ReplyDeleteBELLY!!! :D :D
DeleteThank you! I depotted, like a boss :D
I think it was all the practicing I did with my old NYX eyeshadows (that I have since purged most of) that helped me hone my depotting skills - it you can depot a NYX eyeshadow, man, you can depot anything.
I've tackled many brands now...
The skills are completely transferable. The main thing I emphasise to everyone is the need for adequate ventilation!
But don't fear depotting... when you use the flame method, there is very little chance of a depotting casualty - just work at close range on a bench, so you can't drop anything (e.g. on the floor).
My best advice with Burberry is just to go slow. Don't be scared of them, but just go slow.
xo
I love your tutorials, and I am SO JEALOUS of your RBR collection!
ReplyDeleteThank you Emi!!!
DeleteThe feedback is greatly appreciated!!
And I do rather love my RBR eyeshadows... one of my favourite brands, for sure!! I have quite a collection now!
I hope to do some RBR reviews/swatches/pictures in the future!
xo
This is terrific and helpful! Thank you! I guess I'll have to take some flame to my poor beat up Delicate Hummingbird after all. :) They must have used extra glue in it.
ReplyDeleteA little bit of flame will soften the glue in no time Lauren :)
DeletePoor Delicate Hummingbird :(
Do report back and let me know how you go!
xo
Loved this post! What kind of palette is that?
ReplyDeleteHi Charlotte!
DeleteThat is a large black Z palette (standard version, not the pro version).
Let me know if you would like to see more photos - I can post them on my Facebook page :)
xo
The best tutorial ever. Depotted by RBR blushes like a pro!
ReplyDeleteBelly! YAY!
DeleteThat is fantastic news!
I look forward to seeing some photos :D
xo